
Pruning
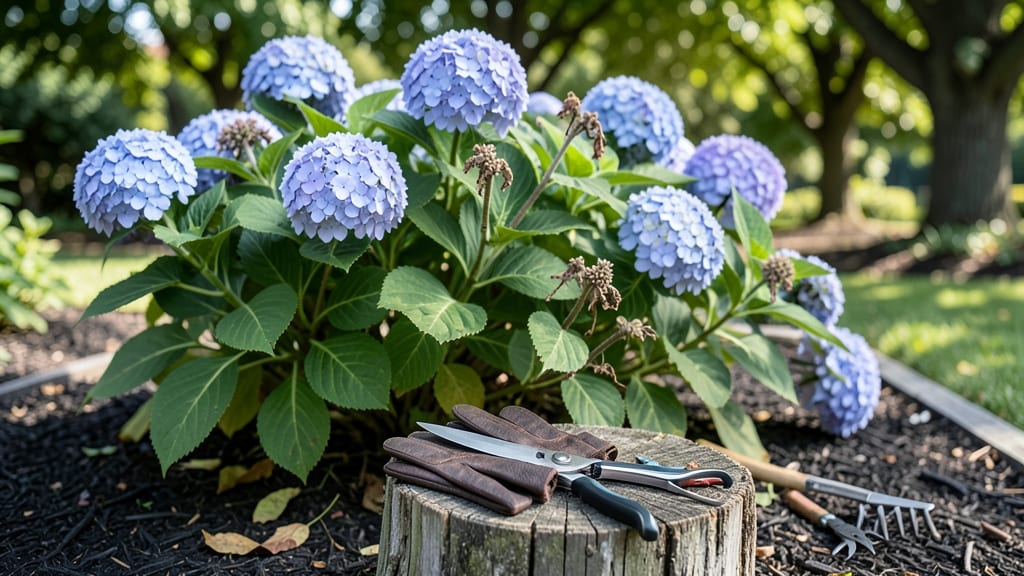
Pruning flower bushes transforms them from scraggly to showstopping—I’ve revived bushes that looked dead with just the right cuts at the right time. The key isn’t just when you prune but how: sharp tools, clean cuts, and knowing whether your bush blooms on old or new wood.
My hydrangeas went from sparse to lush after I finally learned this trick, and your garden can too. Start with the basics: sterilized pruners, gloves, and a clear plan.
You’ll need to work in layers—first removing dead wood, then shaping for airflow, and finally encouraging new growth. Roses, lilacs, and hydrangeas each have their own rhythm, but the core steps stay the same.
Grab your tools and let’s get those bushes looking like they just stepped out of a nursery. By the end, you’ll have bushes that bloom earlier, harder, and longer than ever before. The secret? Pruning isn’t just about cutting—it’s about teaching your plants to grow the way you want.
Think of it as a conversation: you shape them, and they reward you with vibrant blooms all season. This works for any flowering shrub, from formal hedges to wild cottage garden varieties. And don’t worry—even if you’ve pruned wrong before, we’ll fix it.
Let’s make your bushes the envy of the neighborhood.
📚 In This Guide
- What you need
- Instructions
- Tips and common mistakes
- Wrapping up and next steps
What you need
- ● Pruning shears: Sharp, bypass-style shears (4-6 inches) for clean cuts on small stems.
- ● Loppers: Long-handled (20-24 inches) for thicker branches (up to 1.5 inches in diameter).
- ● Pruning saw: For stubborn, thick branches (1.5+ inches)—choose a curved blade for precision.
- ● Gloves: Heavy-duty, gardening gloves (leather or reinforced) to protect hands from thorns and debris.
- ● Disinfectant: Rubbing alcohol (70%+) or a pruning sealant to sterilize tools between cuts (prevents disease spread).
- ● Extension pole: For hard-to-reach branches (attachable to loppers/saws).
- ● Marking twine: Colored string to tag branches for future reference (e.g., "keep" vs. "remove").
- ● Safety glasses: To shield eyes from flying debris.
- ● Bucket or bag: For collecting clippings (or composting them on-site).
- ● Notebook/pencil: To jot down pruning notes (e.g., "pruned in March—next due in fall").
- ● Research: Know your plant type (e.g., hydrangeas vs. roses) and its pruning timeline—some bloom on old wood!
- ● Weather check: Prune on a dry, calm day (avoid rain or windy conditions).
- ● Clean workspace: Lay down tarps or cardboard to catch debris and protect soil.
Step-by-step instructions for pruning flower bushes
Here's how I keep flower bushes thriving year-round with precise, seasonal cuts.
Identify the Right Time for Each Type of Pruning
Timing matters more than technique when pruning flower bushes. Early spring is for light shaping cuts on most shrubs, while heavy pruning happens right after flowering for spring-bloomers like lilacs. Summer pruning focuses on deadheading—removing spent blooms to encourage new flowers. I always check my plant's blooming season first: spring bloomers get pruned after flowers fade, while fall/winter bloomers wait until early spring.
Never prune in late fall or winter unless removing dead wood—dormant plants won't respond well to major cuts. The one exception is rejuvenation pruning for overgrown bushes, which I do in late winter before new growth starts. Watch for fresh buds along stems—they tell me where new growth will emerge after pruning.
Gather the Proper Tools and Safety Gear
Sharp, clean tools prevent damage and disease spread. I use bypass pruners for stems up to ½ inch thick, loppers for ½-2 inch stems, and a pruning saw for anything thicker. Always sterilize blades with rubbing alcohol between cuts on different plants. Safety gear includes gloves (to protect from thorns and sap) and eye protection—those loppers can send branches flying unexpectedly.
I keep a small bucket or bag handy for clippings. For large bushes, I work in sections to avoid overloading myself. The key is to have everything ready before starting—once you begin cutting, you won't want to stop mid-project. A sharp pencil and notepad come in handy too for marking branches to remove before making the first cut.
Remove Dead, Diseased, or Crossing Branches First
Start with dead wood—it's the easiest to spot and removes first. Cut back to the nearest healthy bud or branch collar (the swollen area where a branch meets the trunk). For diseased branches, cut 6 inches below visible symptoms to ensure you remove all infected tissue. Crossing branches compete for energy and create entry points for pests, so I remove one of the two whenever they intersect.
Look for branches growing inward—they'll block sunlight and air circulation in the center of the bush. These are called water sprouts or suckers and should be cut at their base. I make my cuts at a 45-degree angle just outside the branch collar to prevent water from pooling on the wound. The goal here is to open up the center of the bush for better airflow and light penetration.
Shape the Bush According to Its Natural Form
Step back and visualize the bush's natural shape before making any cuts. Most flowering shrubs benefit from an open-center form that allows light to reach all parts. For rounded bushes, I aim to create a dome shape by cutting back the longest branches to just above an outward-facing bud. Always cut just above a bud that points in the direction you want new growth to go.
Never remove more than one-third of the bush's total growth in a single season—this stresses plants and can reduce flowering. If a branch is too long, I make two cuts: first to remove the overgrowth, then a second cut to shape the remaining branch. For formal hedges, I use a hand pruner for precision, making cuts just above a leaf node to encourage dense growth.
Clean Up and Monitor for Recovery
After pruning, remove all clippings from the area to prevent disease buildup. I dispose of diseased wood immediately in sealed bags. For healthy clippings, I either compost them or use them as mulch around other plants. Water the bush thoroughly after pruning to help it recover, especially if I've made significant cuts. The roots need to support the new growth that's about to emerge.
Watch the bush closely in the following weeks. New growth should appear within 2-4 weeks depending on the plant and season. If buds swell but don't break open, it might need more sunlight or warmth. Yellowing leaves or wilting can indicate over-pruning or stress. I keep an eye out for pests that might take advantage of fresh cuts—aphids love new growth, so I'm ready with insecticidal soap if needed.
Tips & tricks for perfect flower bush pruning
These practical insights will help you avoid common mistakes and get the most out of your seasonal pruning efforts.
Seasonal Timing is Everything: I can't stress enough how critical timing is for different types of pruning. For spring-blooming bushes like lilacs, always wait until after they've finished flowering to prune—this ensures you don't accidentally remove next year's blooms. I keep a simple chart of my bushes' blooming seasons taped to my tool shed so I never forget. The key is to prune spring bloomers when you see the flowers starting to fade naturally. For summer bloomers, a light deadheading every few weeks keeps them producing flowers all season long.
Tool Sharpness Prevents Damage: Dull tools crush stems instead of making clean cuts, which can damage the plant and create entry points for disease. I sharpen my bypass pruners every few uses with a simple file and oil—it takes just a couple minutes but makes a huge difference. For loppers and pruning saws, I use a dedicated sharpening stone designed for metal blades. Remember to sterilize your tools between plants with rubbing alcohol to prevent spreading any potential diseases from one bush to another.
Visualize the Final Shape First: Before making any cuts, step back and really look at your bush. Most flowering shrubs thrive with an open center that allows light and air to circulate. I like to sketch a rough outline in my head or even on paper—this helps me decide which branches to remove. When shaping, always cut just above an outward-facing bud to encourage growth in the direction you want. This technique creates a more natural, fuller look over time rather than the boxy appearance you get from random cutting.
Recovery Care Makes All the Difference: After pruning, don't just walk away—give your bush some aftercare. Water thoroughly right after pruning to help it recover, especially if you've made significant cuts. I also apply a layer of mulch around the base to retain moisture and protect the roots. Watch for new growth within 2-4 weeks, and if you notice buds swelling but not opening, it might need more sunlight or warmth. This post-pruning attention is what transforms a good pruning job into a great one that keeps your bushes healthy for years.
Pro Tips for Prune Flower Bushes
- These practical insights will help you avoid common mistakes and get the most out of your seasonal pruning efforts.
- Seasonal Timing is Everything: I can't stress enough how critical timing is for different types of pruning. For sprin...
- Tool Sharpness Prevents Damage: Dull tools crush stems instead of making clean cuts, which can damage the plant and c...
Frequently asked questions
Got questions about pruning flower bushes? You’re not alone! Here are some of the most common concerns—plus clear, actionable answers to keep your blooms thriving.
When is the worst time to prune my flower bushes?
Prune after flowering (late summer/early fall) for most shrubs, but never during active growth or extreme cold. Avoid pruning spring-bloomers (like lilacs) in fall—you’ll cut off next year’s flowers!
How do I know if I’ve pruned too much?
If you’ve removed more than 1/3 of the bush in one go, you’ve overdone it. Signs of over-pruning: sparse foliage, weak stems, or no flowers the next season. Rule of thumb: Less is more—small, strategic cuts work best!
Can I prune flower bushes in winter?
Yes, but only dormant shrubs (like hydrangeas or roses) can handle light pruning in late winter (just before buds swell). Avoid heavy cuts—wait until spring for most plants. Pro tip: Wear gloves to protect against thorns!
What if my bush isn’t flowering after pruning?
Check your timing! Spring-bloomers (e.g., azaleas) need pruning right after flowering. If you skipped it, don’t panic—give it a year. For non-bloomers, test soil health (nutrients? pests?) or adjust sunlight exposure. Bonus: Deadhead spent blooms to encourage reblooming!
Do I need special tools for small flower bushes?
Not necessarily! A sharp pair of bypass pruners works for most jobs. For thicker stems, use loppers or a pruning saw. Avoid dull tools—they crush stems, inviting disease. Sterilize blades with rubbing alcohol between cuts!
Wrapping up and next steps
Pruning your flower bushes doesn’t have to be intimidating—with the right tools, timing, and technique, you’ll keep them thriving all year long! 🌸 Remember to prune at the right season, use sharp tools, and focus on shape and health to encourage lush blooms.
Whether you’re a beginner or a seasoned gardener, a little patience and care go a long way.
Now that you’re armed with the know-how, grab your shears and get pruning! Start with one bush at a time, and soon, your garden will be the envy of the neighborhood. Happy gardening! 🌿