
Pruning
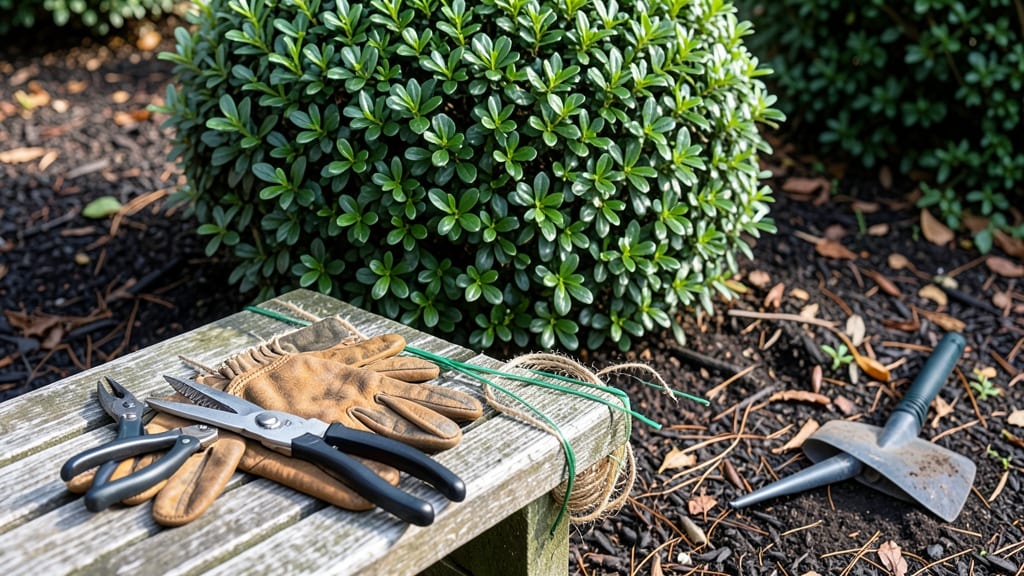
Your evergreen bushes could look shockingly lush year-round with just a few strategic cuts. ✂️ I’ve spent years perfecting the timing and technique—because trimming these plants wrong can turn them into sad, leggy shadows instead of the vibrant focal points they should be.
The secret isn’t just when to trim (though that matters) but how to shape them for natural growth patterns. Start with the right tools—a sharp pair of bypass pruners and a good hand saw—and work in small sections to avoid over-stressing the plant.
I’ve seen bushes recover beautifully after careful pruning, but even a single aggressive cut can take years to heal.
You’ll end up with fuller foliage, stronger branches, and a shape that complements your landscape without looking forced. The best part? Evergreens respond fast—new growth often appears within weeks, and the plant’s overall health improves with every proper trim.
Works for arborvitae, boxwoods, junipers, and even large shrubs like holly. Whether you’re tidying up after winter or giving them a mid-summer refresh, the same principles apply. Let’s get those bushes looking their best all year.
📚 In This Guide
- What you need
- Instructions
- Tips and common mistakes
- Wrapping up and next steps
What you need
- ● Pruning shears (bypass or anvil type) – Sharp, bypass-style shears (for clean cuts) or anvil-style (for thicker branches). Quantity: 1 pair (or 2 if trimming large bushes).
- ● Loppers – For branches ½ to 1½ inches thick. Quantity: 1 pair.
- ● Pruning saw – For thick, woody stems (2+ inches). Quantity: 1.
- ● Gloves (gardening or pruning) – Cut-resistant or heavy-duty to protect hands from thorns and sharp edges.
- ● Disinfectant (rubbing alcohol or pruning sealant) – To sterilize tools between cuts and prevent disease spread.
- ● Ladder or step stool – If bushes exceed 6 feet in height.
- ● Heavy-duty trash bags – For collecting clippings. Quantity: 2–3 (or a compost bin if repurposing).
- ○ Pruning rope or twine – Optional but helpful for tying up branches during trimming.
- ● Hand pruners (for fine detailing) – Great for shaping small branches.
- ● Safety glasses – Protects eyes from debris.
- ● Knee pads – For comfort during long trimming sessions.
- ● Hose or bucket of water – To clean tools mid-trimming and rinse off sap.
- ● Evergreen-specific fertilizer – Apply post-trimming to boost health.
Step-by-step guide to trimming evergreen bushes for year-round health
Here's how I keep my evergreens looking sharp and thriving—no matter the season.
✂️ Step 1: Assess the Bush and Plan Your Cuts
Start by examining your evergreen from all sides. Look for dead branches (they appear brown or gray and snap easily) and overcrowded areas where growth looks tangled. I like to sketch a quick outline of the shape I want—this keeps cuts intentional and avoids that "haircut gone wrong" look.
Evergreens grow in layers, so focus on opening up the center first. This improves airflow and sunlight penetration, which prevents fungal diseases. If the bush has a natural shape (like a pyramid or rounded mound), use that as your guide. You'll know you're on track when you can see light-colored inner branches after trimming.
✂️ Step 2: Remove Dead and Diseased Branches First
Grab your pruners and start at the bottom, working your way up. Cut dead branches back to the main stem or where healthy growth begins. For diseased branches (look for yellow needles, black spots, or sawdust-like residue), sterilize your pruners with rubbing alcohol between cuts to prevent spreading.
I always make cuts just outside the branch collar—the swollen area where the branch meets the trunk. This ensures the wound heals properly. If a branch is larger than ½ inch thick, use loppers instead of pruners for cleaner cuts. You'll notice the bush looks lighter and more open after this step.
☀️ Step 3: Thin Out Overcrowded Areas for Airflow
Now focus on the bush's interior. Remove 20-30% of the oldest growth to encourage new, vibrant growth. Look for branches growing inward or crossing others—these compete for sunlight and nutrients. Cut them back to a healthy lateral branch or the main stem.
Thinning isn't about shearing; it's about creating space. You'll see a difference immediately as sunlight reaches the center. Avoid cutting into the green growth at the tips—this is where the bush produces new needles. If you're unsure, step back and check if the bush looks balanced from all angles.
✂️ Step 4: Shape the Outer Edges for a Clean Look
Once the interior is open, move to the outer edges. Use hand pruners for small branches and loppers for thicker ones. Cut at a 45-degree angle just above a leaf or bud to encourage outward growth. For a softer look, make cuts along the natural curve of the branch.
I avoid heavy shearing—it stresses the bush and can lead to sparse growth. Instead, I make subtle adjustments to maintain the shape. If the bush is tall, start trimming from the top down to avoid standing on ladders unnecessarily. You'll know you're done when the bush looks full but not crowded, with a natural taper.
🌱 Step 5: Clean Up and Maintain Year-Round
After trimming, rake up all debris and dispose of it away from the bush. This prevents pests and diseases from taking hold. Water the bush deeply to help it recover, especially if you've done heavy pruning. Evergreens are drought-tolerant, but they still need moisture to heal.
Plan to trim again in late winter or early spring before new growth starts. Light maintenance trims in summer keep the bush looking tidy, but avoid heavy cuts during the growing season. You'll notice healthier foliage and fewer brown patches over time—proof that your efforts are paying off.
Tips & tricks for perfect evergreen bush trimming
Transforming your evergreens from overgrown to stunning takes more than just snipping branches—here's what I've learned after years of trial and error.
Tool Selection: Invest in sharp pruners and loppers—dull blades tear branches instead of making clean cuts. I keep a small bottle of rubbing alcohol handy to sterilize tools between cuts, especially when dealing with diseased branches. For larger branches over ½ inch thick, loppers give you the leverage you need without damaging the bush.
Seasonal Timing: The instructions recommend trimming in late winter or early spring, but I've found that late winter (February-March) is ideal for most evergreens. This timing gives the bush time to recover before summer's heat stress. If you must trim in summer, do it early morning or late evening to reduce water loss and stress on the plant.
Visual Cues for Success: In Step 3, when you're thinning out overcrowded areas, look for branches that cross others or grow inward—they're competing for sunlight and nutrients. Cut these back to a healthy lateral branch or the main stem. You'll know you're doing it right when you can see light-colored inner branches after trimming, indicating better airflow throughout the bush.
Cleanup Strategy: After trimming, don't just leave debris on the ground—rake it up and dispose of it away from the bush. This simple step prevents pests and diseases from taking hold. I also recommend watering deeply after pruning, especially if you've done heavy trimming. Evergreens are drought-tolerant, but they still need moisture to heal properly.
Pro Tips for Evergreen Bush Trimming
- Transforming your evergreens from overgrown to stunning takes more than just snipping branches—here's what I've learn...
- Tool Selection: Invest in sharp pruners and loppers—dull blades tear branches instead of making clean cuts. I keep a ...
- Seasonal Timing: The instructions recommend trimming in late winter or early spring, but I've found that late winter ...
Frequently asked questions
Got questions about keeping your evergreen bushes looking sharp and healthy? You’re not alone! Here are some of the most common concerns—plus straightforward answers to help you trim with confidence.
When is the best time to trim evergreen bushes?
The ideal time to trim evergreens is late winter or early spring (just before new growth starts). For formal shapes, a light trim in summer can help maintain neatness. Avoid heavy trimming in fall—it can stress the plant before winter. Pro tip: If you must trim in fall, do it at least 6-8 weeks before frost to allow recovery time.
How often should I trim my evergreen bushes?
Most evergreens need one major trim per year (late winter/early spring) and light maintenance trims 2-3 times during the growing season (spring and summer). Over-trimming can harm the plant, so aim for no more than 1/3 of the bush’s growth in a single session. Watch for: Yellowing branches or sparse foliage—signs you might be trimming too much!
Can I trim evergreens in any season, or are there risks?
Trimming evergreens in summer or fall isn’t forbidden, but it comes with risks. Summer trims can stress the plant during heatwaves, while fall trims (especially heavy ones) may expose branches to winter burn. If you must trim outside the ideal window, stick to minor shape-ups and avoid cutting into old wood. Winter caution: Never trim in freezing temps—it can damage tender new growth.
What if my evergreen bush looks "bald" after trimming?
"Bald" spots often happen if you trim too aggressively or cut into old, woody growth. To fix it:
- Thin out overcrowded branches from the inside of the bush to improve airflow.
- Avoid shearing (cutting uniformly)—opt for selective pruning to encourage new growth.
- Fertilize lightly in spring to boost recovery.
What’s the difference between trimming and shearing evergreen bushes?
Trimming
= Selective pruning to remove dead, diseased, or overgrown branches individually—great for shaping and health. Shearing = Uniform cutting with hedge shears or a trimmer to create a neat, manicured look. While shearing works for formal hedges, over-shearing can weaken evergreens by removing too much foliage at once. Best practice: Combine both—trim first, then shear lightly for a polished finish.
Wrapping up and next steps
Mastering evergreen bush trimming isn’t just about aesthetics—it’s about keeping your plants thriving year-round! 🌿 With the right tools, techniques, and timing, you’ll transform your bushes into vibrant, healthy focal points while avoiding common pitfalls. Whether you’re a beginner or a seasoned gardener, consistency and care are your best allies.
Ready to take the next step? Start small—pick one bush to practice your skills, then expand your pruning prowess to your entire garden. Your green thumb is closer than you think! 🌱